Planning how to install a doorbell camera safely
Understanding how to install doorbell camera systems starts with careful planning. Before any installation begins, assess your existing doorbell and doorbells wiring, the position of the chime, and the available power at your front door. This early preparation makes the install process smoother and reduces the risk of damaging the wall or the camera.
Check whether you have an existing doorbell with a wired doorbell chime or a wireless doorbell, because each installation path differs significantly. A traditional wired installation uses a transformer to step down power, while a battery powered smart doorbell or video doorbell relies on rechargeable cells and sometimes a solar accessory. Knowing this difference helps you choose the right mount, drill bit, and wall anchors for your specific door and wall material.
Inspect the existing wires behind your existing doorbell button and note their condition. If the wires are brittle or frayed, you may need to replace the wire run before you install doorbell hardware or a new doorbell camera. When you plan mounting doorbell positions, consider the field of view of the camera and how the video will capture visitors, parcels, and the surrounding area.
Think about whether a wedge corner kit is necessary to angle the smart doorbell away from a side wall. A wedge corner accessory can prevent the camera from staring directly at a brick wall and instead frame the path and driveway in the video. This planning stage is where you also decide between a fully doorbell wired setup or a flexible battery powered option that avoids complex wires.
Finally, map out how you will use the app that controls the video doorbell and doorbell chime. The app will guide you through installation steps, help you tap continue during setup, and confirm that power and Wi-Fi are stable. Taking time to follow steps on screen reduces errors and ensures your smart doorbell and chime work together reliably.
Choosing between wired installation and battery powered options
When learning how to install doorbell camera devices, the first major decision is between a wired installation and a battery powered design. A wired doorbell or doorbell wired camera connects to the existing transformer and uses the same wires that powered your old doorbell. This approach keeps the doorbell camera always powered, but it requires safe handling of electrical power and careful work at the chime and transformer.
Battery powered smart doorbell models avoid direct wiring to household power. They are ideal where no existing doorbells wiring exists or where the wall material makes new wires difficult to run. You still need secure mounting, a suitable drill bit, and solid wall anchors, but you skip transformer work and simply mount the camera, connect it in the app, and tap continue to finish.
For a wired installation, confirm that your transformer output matches the video doorbell manufacturer’s specifications. If the transformer is too weak, the camera and doorbell chime may fail or the video may cut out when someone presses the doorbell. In some homes, upgrading the transformer is essential before you install doorbell hardware or any smart doorbell camera.
Battery powered models sometimes integrate with accessories such as a solar charger to reduce manual recharging. If you are considering enhancing your Ring or Nest doorbell with a solar accessory, review this guide on enhancing your Ring doorbell with a solar charger to understand mounting and power implications. Even with solar, you still need to follow steps in the app and confirm that the doorbell camera receives enough light for consistent charging.
Whether you choose a wired doorbell or a wireless doorbell, think about how the chime will sound inside your home. Some systems keep the existing doorbell chime, while others use a smart chime accessory that connects through Wi-Fi. In both cases, the app becomes the central hub where you tap continue, adjust volume, and manage video notifications.
Preparing tools, drill bits, and safe mounting surfaces
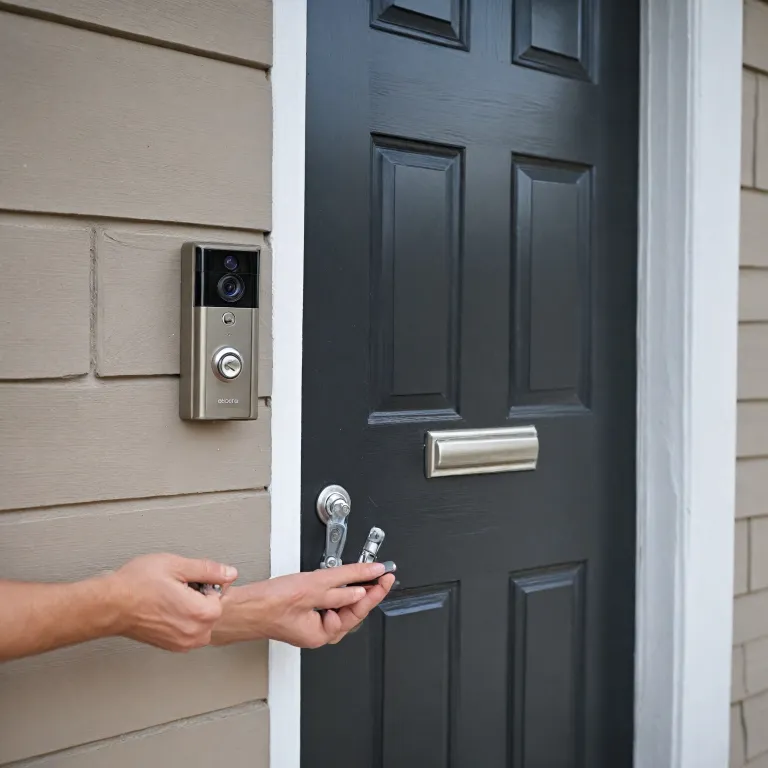
Before you start the physical installation, gather all tools required for how to install doorbell camera systems. Most manufacturers recommend a specific inch drill size for the pilot holes, and some even include a compatible drill bit in the box. Check whether you need additional wall anchors for brick, concrete, or plaster, because mounting doorbell hardware directly into weak material can cause the camera to loosen over time.
Lay out the mount, wedge corner kit if supplied, screws, and any doorbell tap connectors for the wires. If you are replacing an existing doorbell, turn off power at the breaker before touching any wire or transformer. This step protects you from electric shock and prevents short circuits that could damage the video doorbell or the existing doorbell chime.
Mark the wall where the mount will sit, using a level to keep the camera straight. When drilling, use the recommended inch drill setting and avoid pushing too hard, especially on brittle brick or tile. Insert wall anchors gently, then position the mount or wedge corner bracket and secure it with screws, checking that the mounting doorbell plate does not wobble.
If you are installing a wired doorbell or smart doorbell that uses low voltage power, route the wires through the center of the mount. Leave enough slack in the wires so you can connect them comfortably to the doorbell tap terminals. For a battery powered video doorbell, you may only need a small hole for the screws and no wire opening at all.
Some installations benefit from additional accessories such as a solar panel extension lead when the power source is not close to the mount. For more complex layouts, consult this resource on using a solar panel extension lead for Ring doorbells to understand cable routing and wall protection. Careful preparation of tools, wall anchors, and mounts ensures that your camera and chime remain stable and functional for years.
Handling wires, transformer, and existing chime connections
The most delicate part of how to install doorbell camera hardware often involves the wires, transformer, and existing chime. Start by confirming that power is off, then remove the existing doorbell button and gently pull the wires forward. Note which wire connects to each terminal, because this mapping helps when you install doorbell components on the new mount.
Many smart doorbell and video doorbell models use a doorbell tap accessory that connects at the chime or transformer. This doorbell tap allows the camera to share power with the existing doorbell chime without overloading the transformer. Follow steps in the manufacturer’s guide carefully, and when the app prompts you, tap continue only after each wire is firmly secured.
If your home has a wired doorbell with a mechanical chime, you may need to adjust settings so the chime works correctly with the new camera. Some systems require you to bypass the existing doorbell chime, while others keep it active and add a smart chime speaker. In either case, ensure that all wires are tucked safely inside the chime box and that no bare wire touches metal parts.
For homes without any existing doorbells wiring, you can skip transformer work entirely and choose a wireless doorbell or battery powered smart doorbell. These models still provide high quality video and app alerts, but they rely on Wi-Fi and internal batteries instead of low voltage wires. You still mount the camera on the wall, use wall anchors and the correct drill bit, and then configure the chime through the app.
When connecting a Nest doorbell, Ring video doorbell, or similar camera, double check that the transformer output matches the recommended voltage range. If the transformer is undersized, the video may freeze, the chime may buzz, or the doorbell camera may reboot when pressed. In such cases, upgrading the transformer or switching to a battery powered configuration can resolve persistent power issues.
Configuring the app, video settings, and smart alerts
Once the hardware is in place, the next phase of how to install doorbell camera systems focuses on software. Download the relevant app for your video doorbell or smart doorbell and create an account if you do not already have one. The app will guide you through Wi-Fi setup, ask you to tap continue at each stage, and confirm that the camera and chime are online.
During setup, you typically name the doorbell, choose whether it is a wired doorbell or battery powered, and specify if it replaces an existing doorbell. These details help the system manage power, chime behavior, and video recording rules. When prompted, follow steps to link any wireless doorbell chime accessories so that visitors can be heard throughout the home.
Next, adjust video settings such as resolution, motion zones, and privacy areas. Proper configuration ensures that the doorbell camera captures useful video of people approaching, while avoiding constant alerts from a busy street or a moving tree. Many apps allow you to fine tune motion sensitivity, schedule alerts, and set how long video clips are stored.
For advanced mounting scenarios, such as when the camera sits on a narrow frame or near a corner, review guidance on choosing the right camera mounts. The right mount or wedge corner bracket can dramatically improve the video angle and reduce glare from nearby walls. After adjusting the physical mount, revisit the app to refine motion zones and ensure that the video doorbell covers the intended area.
Finally, test the system thoroughly by pressing the doorbell, listening for the chime, and reviewing the recorded video. Confirm that both the app and any physical doorbell chime respond quickly and that notifications reach all intended devices. If problems arise, recheck Wi-Fi strength, power levels, and wire connections, then use the app’s troubleshooting tools and tap continue through any recommended fixes.
Maintenance, safety checks, and long term reliability
Installing the hardware and app is only part of how to install doorbell camera solutions responsibly. Long term reliability depends on regular maintenance of the camera, chime, power supply, and mount. Inspect the wall, mount, and wall anchors at least a few times per year to ensure that the mounting doorbell plate remains tight and that no cracks appear around the screws.
For wired installation setups, occasionally check the transformer and chime for unusual heat or buzzing. If the wired doorbell or video doorbell behaves erratically, loose wires or an aging transformer may be the cause. Turn off power, inspect each wire and doorbell tap connector, and tighten any loose terminals before restoring power and testing the chime again.
Battery powered smart doorbell models require periodic charging unless paired with a solar accessory. Monitor battery levels in the app, and plan recharging during quieter periods so your doorbell camera is not offline when you expect visitors. When removing the camera from the mount, handle the wires gently if it also connects to a chime or transformer for trickle charging.
Weather can affect both wired and wireless doorbell systems, especially when the camera is mounted on an exposed wall. Clean the lens regularly to maintain clear video, and check that the wedge corner or mount has not shifted due to temperature changes. If you notice water ingress or corrosion around the screws, replace the affected hardware and reseal the mounting holes.
Over time, firmware updates delivered through the app can improve video quality, chime performance, and security features. Always follow steps recommended by the manufacturer, and when prompted, tap continue to apply updates during a time when brief downtime is acceptable. By combining careful installation, regular inspections, and thoughtful use of both wired and battery powered options, you maintain a reliable, safe, and effective doorbell camera system.
Key statistics about doorbell camera adoption and performance
- Up to 30 % of households with broadband now use at least one smart doorbell or video doorbell at the main entrance.
- Homes with a functioning doorbell camera report reductions of between 20 % and 40 % in missed parcel deliveries.
- In surveys of new users, more than 70 % say that learning how to install doorbell camera systems themselves increased their confidence with other smart home devices.
- Battery powered models account for nearly half of new smart doorbell sales, reflecting demand for flexible installation without new wires.
- Among wired installation users, over 60 % upgraded an aging transformer to stabilize power and improve chime reliability.
Common questions about installing a doorbell camera
Is it better to choose a wired doorbell camera or a battery powered model ?
A wired doorbell camera offers continuous power through the transformer and existing wires, which is ideal if you already have a functioning chime and do not mind working with low voltage wiring. A battery powered smart doorbell is easier to mount on almost any wall, avoids transformer work, and suits renters or homes without existing doorbells. The best choice depends on your comfort with wiring, the condition of your existing doorbell, and how often you are willing to recharge batteries.
Can I use my existing doorbell chime with a new video doorbell ?
Many video doorbell systems are designed to work with an existing doorbell chime, especially if it is a compatible wired doorbell chime. In some cases, you install a doorbell tap or adapter at the chime to share power safely between the camera and the chime. Always check the manufacturer’s compatibility list and follow steps in the app and printed guide to avoid overloading the transformer or damaging the chime.
What tools do I need to install a doorbell camera on brick or concrete ?
For brick or concrete walls, you typically need a power drill, the correct inch drill bit for masonry, and robust wall anchors that match the screws supplied with the mount. Mark the holes carefully, drill slowly to avoid cracking the surface, and insert anchors fully before tightening the mounting doorbell plate. Using the right tools ensures that the smart doorbell or Nest doorbell remains secure and that the camera angle does not shift over time.
Will a wireless doorbell camera work reliably if my Wi-Fi signal is weak at the front door ?
A wireless doorbell or battery powered video doorbell depends heavily on a stable Wi-Fi connection for live video and alerts. If the signal is weak at the wall where you plan to mount the camera, consider moving your router, adding a Wi-Fi extender, or using a mesh system. Testing signal strength in the app before final installation helps you avoid choppy video, delayed chime notifications, and repeated tap continue prompts during setup.
Do I need professional help to handle the transformer and wiring ?
Many homeowners can safely manage low voltage wiring for a wired doorbell or smart doorbell by turning off power, following manufacturer diagrams, and double checking each wire connection. However, if you are unsure about the transformer rating, the condition of existing wires, or local electrical codes, hiring a qualified electrician is the safest option. Professional help is especially valuable when upgrading an old transformer, integrating a complex chime, or combining multiple doorbells into one system.