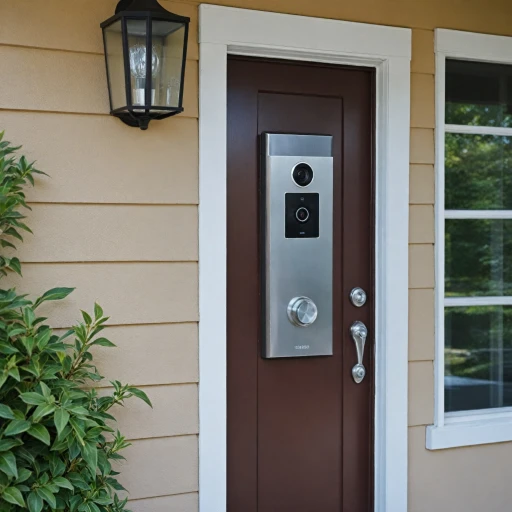
Gathering the necessary tools and equipment
Essential Tools and Equipment for Installation
Setting up your Ring Video Doorbell Pro begins with making sure you have all the required tools and equipment at hand. This step ensures the process is smooth and efficient, helping you avoid any unnecessary hitches along the way.
- Screwdriver: A Phillips head screwdriver is a staple for mounting your Ring doorbell.
- Drill: If mounting on a hard surface like brick or concrete, a drill with the appropriate drill bits is essential.
- Mounting Screws: Your Ring Video Doorbell package should include these. They are needed to secure your doorbell to the wall.
- Pro Power Kit: This is crucial for managing power distribution to your doorbell effectively. It should be included with your purchase.
- Transformer: Necessary if your existing electrical system needs an upgrade to provide sufficient power.
- Level Tool: Ensures your doorbell is perfectly aligned, promoting aesthetic appeal and functionality.
- Corner Kit (Optional): Use this if your doorbell needs angling for an optimized view of your doorstep area.
- Voltage Tester: Ensures wires are safe to handle, especially if you're working with a wired doorbell setup.
- Smartphone or Tablet: Required for setting up and connecting to the Ring app, an integral part of the installation.
Before moving on, double-check your package to confirm all essential items are present. Preparing your doorbell location is the next crucial step, helping ensure that your installation goes off without a hitch.
For a detailed guide on how to carry out the installation successfully, visit our installation guide.
Preparing your doorbell location
Ensuring Your Doorbell Area Is Set Up for Success
Before jumping into replacing your existing doorbell, it's essential to ensure that your new Ring Video Doorbell Pro will fit seamlessly into your current setup. Here’s what you need to do:
- Evaluate the Area: Ensure there's enough space on your wall for the new unit. The Ring Video Doorbell Pro generally requires a flat surface to mount effectively along with the mounting screws provided in the kit.
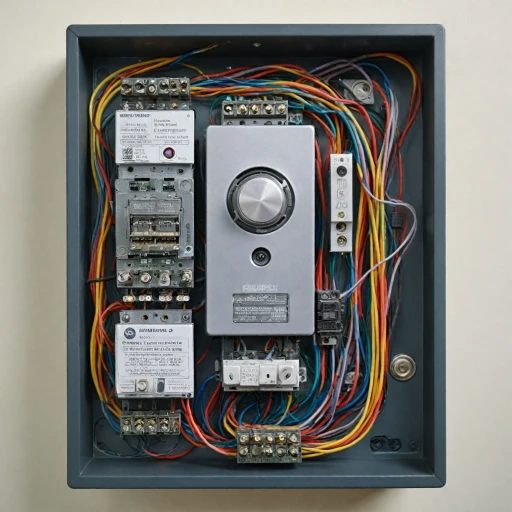
- Check Doorbell Wires: If you have an existing doorbell, inspect the existing wires for any wear and tear. Proper wiring is essential for a successful installation of wired doorbell systems like the Ring Pro and to ensure the security of your connection.
- Understand the Power Requirements: The Ring Video Doorbell Pro requires a consistent power source. If your previous doorbell was wired, this could simplify installation. You might need a doorbell transformer if your existing setup does not provide sufficient power.
- Consider Additional Installations: Installing a pro power kit or plug adapter may be necessary based on your current electrical setup. Sometimes, adjusting the chime or adding a corner kit can assist in optimizing the view of your security camera.
- Check for Additional Accessories: Accessories like doorbell chime kits or battery-powered setups might be needed if you’re planning to integrate additional features. Consult various forums for real-life applications and advice to optimize your Ring doorbell installation.
To delve deeper into understanding the wiring and overall system setup, explore how to successfully install your Ring Video Doorbell.
Removing your existing doorbell
Safely Disconnecting the Electrical Supply
When removing your existing doorbell, safety should be your top priority. Begin by turning off the power to your doorbell at your home’s main electrical panel. Locate the circuit breaker that controls the doorbell circuit and switch it off to avoid any risk of electrical shock during the uninstall process.Detaching the Existing Doorbell
With the power safely off, use a screwdriver to remove the mounting screws that secure your current doorbell to the wall. Carefully detach the doorbell to reveal the doorbell wires. These wires are essential for your new Ring Video Doorbell Pro, as they will connect your device to the doorbell transformer and supply continuous power. As you disconnect the wires, it might be a good idea to label them, especially if you plan on replacing the transformer or modifying the wiring later. This will make the installation process of your ring doorbell more straightforward and secure.Inspecting the Doorbell Wiring
Take a moment to examine the existing wiring for any signs of wear or damage. Frayed or exposed wires should be repaired or replaced to ensure a reliable connection for your Ring Video Doorbell Pro. If you're not confident in handling electrical components, consulting an electrician could be beneficial. While this step might seem a bit technical, it’s crucial for ensuring your video doorbell functions smoothly and effectively. If you’re interested in understanding more about exploring the best video doorbells for your home, you may find additional insights and comparisons to consider in making the right choice for your security needs.Mounting the Ring Video Doorbell Pro
Securely Affixing Your Ring Video Doorbell Pro
When it comes to mounting the Ring Video Doorbell Pro, ensuring a stable fit is essential for optimal performance. Whether you're swapping out an old unit or setting up a new installation, this step involves a few key considerations to achieve the best results. First, take your mounting screws and utilize the included drill bit from your installation kit to prepare your wall for the screws. This process is crucial to ensure the bracket is firmly attached, providing both security and stability to your wired doorbell. Depending on your surface material, such as concrete or wood, consider using additional hardware from your local hardware store, as needed. Next, attach the mounting bracket to the wall using the provided screws, making sure it's level and aligned with the existing doorbell wiring. Pivotal in this phase is the role of your pro power kit that prevents power overload in your system by regulating electrical flow, particularly crucial if your previous installation included a wired doorbell chime. Stressing safety, always switch off power from your circuit breaker before handling wiring tasks. After securing the bracket, connect the doorbell to the existing doorbell wires. Proper connection is essential; ensure each wire tightly fits to guarantee stable operation. For homes without existing wiring, options like a plug adapter can be considered, although seeking professional guidance may be your best bet for an electrical setup without prior wires. For those with different mounting needs, the ring offers additional installations such as the corner kit, allowing you to position the doorbell pro for the best field of view. Often discussed in forums and review sections, such adjustments cater to unique layout requirements and ensure your ring video captures everything it should. Once mounted, proceed with connecting it to your in-home Wi-Fi network, which will be elaborated further in the next phase of the installation process. Knowing how to mount your video doorbell securely ensures not only its longevity but also the overall enhancement of your home's security setup.Connecting to your home Wi-Fi network
Connecting Your Ring Video Doorbell Pro to Your Wi-Fi Network
After you've securely mounted and wired your Ring Video Doorbell Pro, it’s time to get your device online. This step is essential for accessing your doorbell’s live video feed and other features through the Ring app. Here's how you can do it:
- Install the Ring App: First, download and install the Ring app from your device’s app store. Whether you're using a smartphone or tablet, the app is your primary tool for managing your Ring Doorbell.
- Create an Account: If you haven’t done so already, sign up and create an account. This will be your gateway to all Ring's smart home functionalities including video monitoring and notifications.
- Add the Device: Once inside the app, tap “Set up a Device” and follow the prompts to add your Ring Video Doorbell Pro. Select “Doorbells” when prompted for the device type.
- Connect to Wi-Fi: The app will guide you through connecting your doorbell to your home's Wi-Fi network. It’s crucial to ensure your network is stable and within range of your device. If your doorbell is far from your router, consider using a Wi-Fi extender for a stronger signal.
- Linking the Chime: If you're using a Ring chime, make sure it is also connected to the network which will allow it to work seamlessly with the doorbell.
Following these steps will ensure your Ring Video Doorbell Pro is properly connected, granting you access to live video feeds, motion alerts, and more. Remember to regularly check for app updates to maximize your device's security and performance.
Testing and final adjustments
Ensuring Proper Functionality and Final Touches
Once you have successfully connected your Ring Video Doorbell Pro to your home Wi-Fi network, it’s time to ensure everything is set up to function optimally. Here’s how you can test and finalize your installation:- Power Check: Ensure that your new video doorbell is receiving power from your home’s electrical system. If your doorbell isn't powered, double-check the wiring and the connection to the transformer.
- Ring App Configuration: Use the Ring app to configure your settings. This includes adjusting your motion zones, customizing chime settings, and activating notifications. The app is integral for accessing your security footage and interacting with visitors remotely.
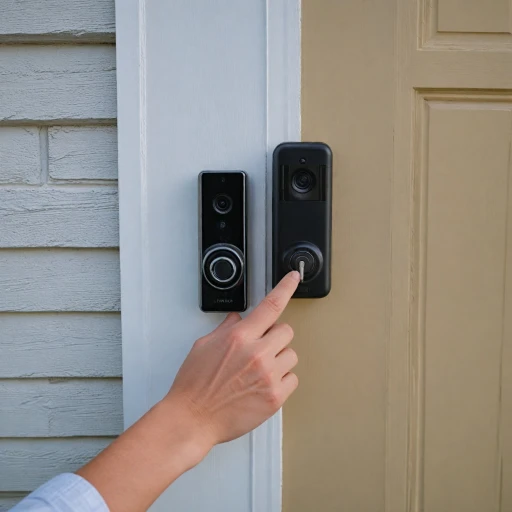
- Chime Test: Press the doorbell and listen for the chime inside your home. If you’re not hearing the chime, verify that the doorbell wires are securely connected and not loose.
- Video Feed Quality: Check the video quality of the doorbell through the Ring app. If you experience any issues with video quality, consider adjusting the router's location or using a Wi-Fi extender to enhance the signal strength.
- Adjusting the Mounting Angle: If you’re not capturing the desired viewing area, utilize the corner kit included in the installation guide to adjust the mounting angle of the doorbell camera.
- Community Feedback: Visit forums and read user replies views to troubleshoot any unanticipated issues or learn advanced tweaks from other Ring Doorbell Pro users.
