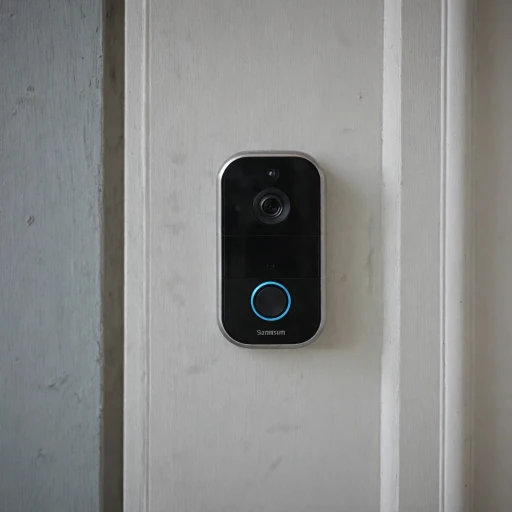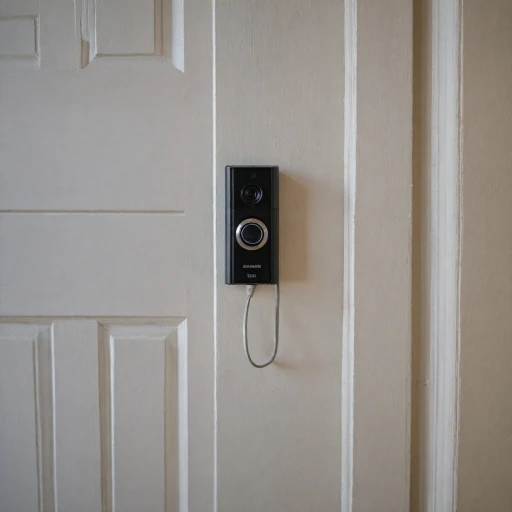
Understanding Your Ring Video Doorbell
Embracing Your Home’s Security Tool
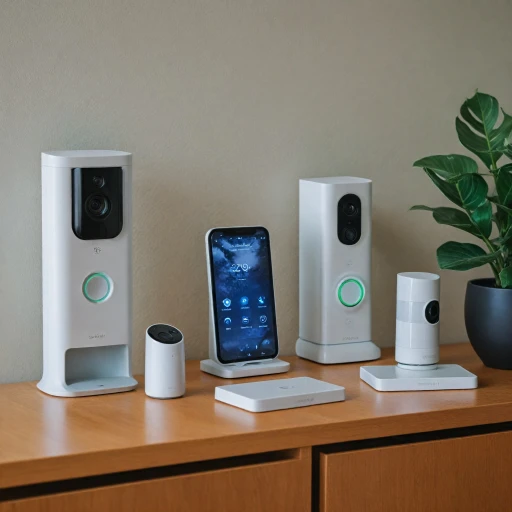
The Ring Video Doorbell is more than just a device at your front door; it's a security powerhouse that combines video, motion detection, and real-time alerts to keep you informed about your home's exterior activity. Whether you opt for a wired doorbell that leverages existing doorbell wires, or choose a model with a battery, understanding your doorbell’s functionality is key to maximizing its potential.
Knowing Your Features
The Ring family offers a variety of models, each featuring unique capabilities. For instance, the Ring Doorbell Pro offers an advanced motion detection system, customizable motion zones, and high-definition video quality. Also equipped with night vision, this doorbell ensures your security needs are met at all hours. Pay attention to features like the instant live view and two-way audio, which allow you to interact with visitors even when you're not home.
Integrating with Your Existing Setup
If you plan to use the doorbell wired setup, it's vital to understand your current doorbell chime and power supply. This approach could save you time during the installation process and ensure a seamless integration with your ring app, which is essential for managing devices and configuring settings.
To effectively set up your Ring Video Doorbell, consider checking out this guide on effortless setup techniques. Remember, proper installation begins with a clear understanding of the product features and your home's existing infrastructure.
Gathering the Necessary Tools and Materials
Essential Tools and Materials for Installation
Before you embark on installing your Ring Video Doorbell, it’s crucial that you gather all the necessary tools and materials. Proper preparation ensures a smooth process from start to finish, reducing the risk of disruptions during your installation. Whether you're dealing with a wired doorbell or a battery-powered device, having these on hand will set you on the right path.
- Screwdriver: A standard Phillips head screwdriver for mounting your doorbell to the wall or door frame.
- Drill: If you’re installing on a hard surface like brick or concrete, a power drill with the appropriate bit size is essential.
- Level: To ensure your doorbell is mounted straight, a small level will be beneficial. This prevents any skewed placements that might affect motion detection.
- Wire extensions and connectors: For those replacing an existing doorbell, doorbell wires may need extending or reconnecting.
- Screws and anchors: Often supplied with the Ring doorbell, these are crucial for securely affixing the device.
- Chime Kit: If utilizing an existing doorbell chime, ensure you have the compatible kit to integrate with the Ring Pro.
- Safety Equipment: Glasses and gloves to protect against dust and debris, especially during drilling.
Getting Ready for a Smooth Installation
Having all these tools ready and understood allows for efficient transitions from one phase of the installation process to another—from mounting to wiring your Ring Video Doorbell. Maintaining a methodical approach ensures your home’s security with features like real-time video alerts and precise motion zones.
Safety Precautions Before You Begin
Ensuring Safety is Paramount
When preparing to install your Ring video doorbell, taking the necessary safety precautions is crucial. Here's how you can ensure a safe installation process for your new device:- Power Down: Before beginning any installation, it's important to turn off the power to the existing doorbell at your home's circuit breaker. This step will protect you from the risk of electric shock when handling wires.
- Use a Voltage Tester: Even after powering down, be sure to double-check that the wires are safe to handle. Use a voltage tester to confirm that there is no electrical current flowing through the doorbell wires.
- Read the Manual: Familiarize yourself with the user manual provided with the Ring doorbell. This will give you insights into the specifics of your device, whether it's a video doorbell or a doorbell pro model. Understanding your device thoroughly will help in efficiently managing the wiring and installation process.
- Review Existing Setup: Before proceeding, assess the current condition of your existing doorbell and chime systems. Check if the wires are intact and identify their current using icons on your voltage tester. This step ensures that your Ring device has a reliable power source.
- Be Mindful of Surroundings: If installing the Ring video doorbell near the front door, make sure the area is clear of any obstacles that may obstruct your view or tamper with the motion detection capabilities of the device.
Step-by-Step Wiring Instructions
Wiring Your Device with Precision
Before starting, ensure your existing doorbell wires are in good condition to establish a solid connection for your Ring Video Doorbell. If your setup includes an existing wired doorbell chime, you'll need to integrate it with your new device. This ensures alerts can play through your traditional chime system, enhancing the security experience.
Here’s a quick guide to help you make the perfect connections:
- Disconnect Power: Ensure power is off before you handle any wiring. This guarantees safety while you secure your connections.
- Remove Existing Doorbell: Unscrew and gently remove your existing doorbell from the wall to access doorbell wires.
- Connect New Device: Start by connecting the wires to the back of your Ring Video Doorbell. Ensure a tight fit to avoid any disruption.
- If you have the Ring Doorbell Pro, you'll need to set up the pro power kit. It constructs a bridge for the power and ensures steady functionality.
- Secure Connections: Once connected, reattach the wired doorbell to the wall using the appropriate screws. Ensure it's flush with the wall surface for optimal positioning.
Wiring into the Power Source
Ensure that the connections at your doorbell chime are secure. This guarantees that the motion detection and alert sounds will function properly. Test the wiring by checking if the doorbell chime produces sound when the doorbell is pressed.
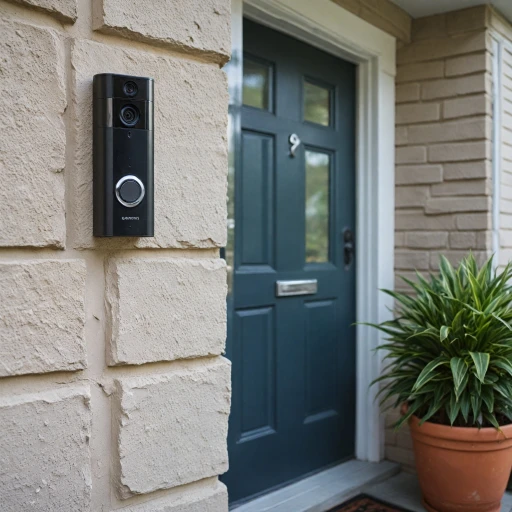
Keep in mind, outdoor stability is crucial. Protect your Ring Video Doorbell from the elements to ensure longevity and consistent video performance.
Finalizing the Installation
Once everything is wired and secured, restore the power and watch the device light up with action. Open the Ring app to test the live view feature and check all motion zones. Make sure your motion detection settings suit your property’s layout. Adjust the zones if necessary.
Having a proper wiring setup significantly enhances your video feed and security alerts, making your front door a monitor for visitors both welcomed and unexpected.
Testing and Troubleshooting Your Installation
Ensuring Proper Functionality: Post-Installation Checks
After wiring your Ring Video Doorbell, it's crucial to verify that everything is working as expected. These checks will help ensure that your device is not only functional but also providing the security coverage you need.Here are the steps to follow for testing and troubleshooting:
- Power Verification: Make sure the Ring Doorbell is receiving power. Check that the doorbell chime sounds and the doorbell button lights up when pressed. If it doesn’t, inspect the doorbell wires and connections to the power supply.
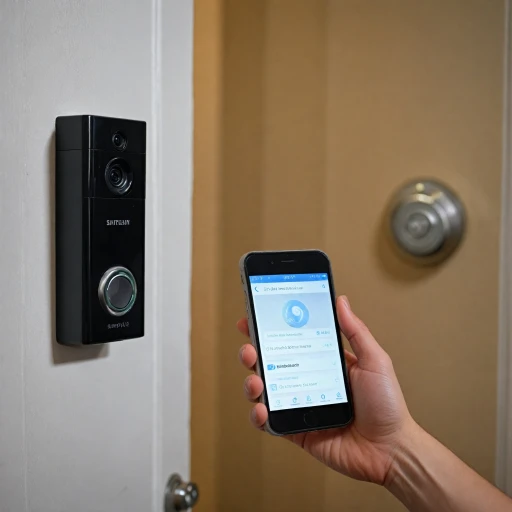
- App Connection: Open the Ring App and verify that it recognizes your Ring Video Doorbell. The app should display a live view from your front door and show the correct device icon.
- Motion Detection Test: Walk in front of your installed doorbell and check for notifications. This is to ensure that the motion zones are correctly set. Ensure the doorbell icon shows motion alerts in real time.
- Video Clarity: Examine the video quality, including night vision capabilities. A crisp image will aid in identifying visitors or potential security threats.
- Chime Operation: Whether you have a wired doorbell chime or one sold separately, confirm that the chime pro functions as expected. It's essential for notifying you when you are not near your phone.
If you encounter any issues, double-check your wiring connections and make sure you followed all necessary safety precautions. Additionally, review the motion and security settings within the app to fine-tune alerts and detection sensitivity.
Maintenance Tips for Your Ring Video Doorbell
Keep Your Ring Video Doorbell at its Best
Regular maintenance of your Ring Video Doorbell ensures that it remains fully operational, offering seamless security and peace of mind. Here's how you can maintain your device effectively:- Keep the Lens Clean: Dust and dirt can accumulate on the video lens, affecting image quality. Regularly wipe the lens with a soft, lint-free cloth to ensure a clear view.
- Check Power Supply: Make sure your doorbell wired connection or battery power is consistently checked. This prevents sudden power failures that might affect functionality. If running on battery, recharge it periodically.
- Inspect Wires: Examine the existing doorbell wires for wear and tear, especially in older systems. This prevents connectivity issues and maintains a steady power supply.
- Update the Ring App: The Ring app offers real-time alerts and live view capabilities. Ensure the app is updated to the latest version for the best performance, including updates to night vision and motion detection features.
- Test Motion Zones: Test and adjust your motion zones periodically. This ensures optimal motion detection and reduces unnecessary alerts at your front door.
- Secure Mounting Bracket: Verify that the doorbell pro mounting is secure; loose fittings could compromise security and alter the view angle.
- Firmware Updates: Ensure your device's firmware is up-to-date. This can be easily managed via the Ring app, usually indicated by a small icon or a prompt within the app.
- Monitor Chime Performance: Whether using a doorbell chime or external wired chime, check regularly if the sound is clear and without interruptions. Adjust as needed to maintain performance.
