Understanding Your Doorbell System
Familiarizing Yourself with Doorbell Components
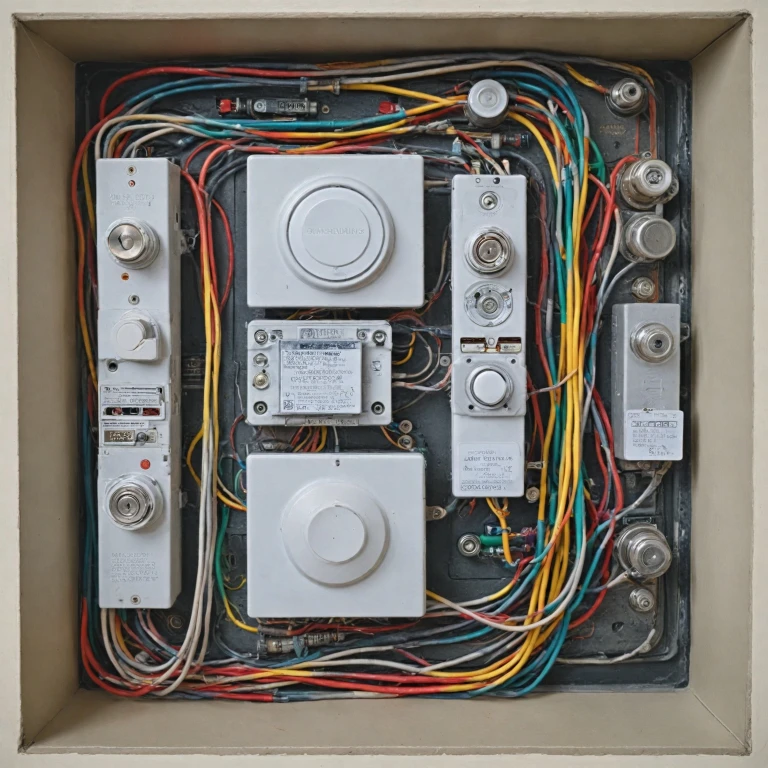
Before diving into the installation process, it's crucial to understand the components of your doorbell system. From traditional wired doorbells to advanced smart video options like the Ring Doorbell or Google Nest, the core elements typically remain the same: the doorbell button, the chime, and the transformer. The transformer plays a vital role in converting high voltage from your power outlet to a lower one suitable for doorbell use. It's essential to check the existing voltage and determine if an upgrade is necessary, especially when installing a modern smart doorbell.
The Role of Different Components
- Doorbell Button: Initiates the doorbell chime by pressing, sending a signal through the doorbell wiring.
- Chime: Can be either a mechanical chime or digital chime, producing sound when the doorbell button is pressed. Understanding how your chime works can help in troubleshooting issues later.
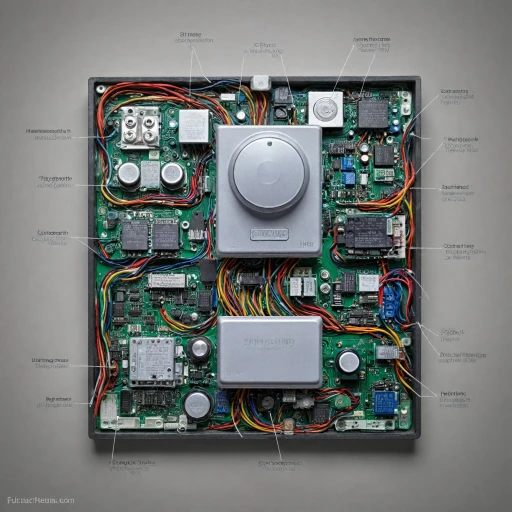
- Transformer: Reduces the voltage and is crucial for the seamless function of your doorbell. Incorrect voltage levels may affect the performance of your doorbell, reminding us why checking and understanding the wiring diagram for a ring doorbell is essential.
In the journey of installing your doorbell, it's important to understand these components to avoid mishaps during the wiring process. A comprehensive understanding ensures a smoother installation and connection of your doorbell wires, thereby enhancing the overall security and convenience of your home.
Gathering the Necessary Tools and Materials
Tools and Materials Checklist for Smooth Doorbell Installation
Installing a ring doorbell system requires specific tools and materials to ensure a seamless process. This section breaks down what you need to gather before moving on to the installation steps. Being well-prepared can greatly help in avoiding unnecessary interruptions later on.- Screwdriver and Drill: These are crucial for securing the doorbell to the wall. Make sure your drill is compatible with both drywall and masonry for various mounting surfaces.
- Doorbell Transformer: Ensure that your transformer can adequately handle the voltage requirements of your chosen doorbell. An upgrade transformer might be necessary when installing modern video doorbells like the nest doorbell.
- Wires and Wire Connectors: Choosing the right doorbell wire is essential. Typically, 18-gauge wire will suffice for most doorbell wiring tasks.
- Voltage Tester: This tool helps check if the wires are live, ensuring safety when connecting wires.
- Mounting Brackets and Screws: Most doorbells come with their mounting adapters, but it's a good idea to have spares in case they don’t fit your wall style.
- Level: Important to ensure your doorbell is mounted correctly and looks professional.
- Power Drill Bits: Get a variety of bits to ensure you can drill through different wall types.
- Optional: Wi-Fi Adapter: If you face Wi-Fi issues, an adapter might help resolve connectivity problems. Readers can refer to more solutions for resolving Wi-Fi connectivity issues with video doorbell installations.
- Doorbell Chime and Power Outlet: Depending on whether you have a digital or wired chime, make sure you have tested its compatibility and it works as intended with your new system.
Preparing for Installation
Getting Ready for Your Doorbell Installation
Before you dive into the wiring process, it's crucial to prepare adequately. This preparation will ensure a smooth installation and help avoid potential pitfalls. Here’s what you need to do:
- Check Your Existing Setup: Determine if you have an existing doorbell system. If so, identify the location of the doorbell chime, transformer, and any existing wires. This will help you understand the current wiring layout and what changes might be necessary.
- Turn Off Power: Safety first! Always turn off the power to your doorbell system at the circuit breaker to prevent any electrical hazards during installation.
- Gather Tools and Materials: Ensure you have all the necessary tools and materials ready. This includes a drill, screwdriver, wire strippers, and any mounting hardware that came with your new doorbell.
- Plan Your Wiring Route: Decide the best path for your wires. If you're installing a video doorbell like the Ring or Google Nest, consider where the wires will run from the transformer to the doorbell and chime.
- Consider Power Requirements: Check the voltage requirements of your new doorbell. You may need to upgrade your transformer if it doesn't meet the necessary power specifications.
- Review Privacy and Security: Familiarize yourself with the privacy policy of your chosen doorbell brand to understand how your data will be handled.
With these steps, you'll be well-prepared to move on to the actual wiring process, ensuring a successful and efficient installation of your new doorbell system.
Step-by-Step Wiring Instructions
Initiating Your Doorbell Wiring Journey
When you're prepared to dive into the wiring process, start by ensuring all power sources are safely turned off. This is crucial to avoid hazards during installation. The following steps will guide you through connecting your doorbell with precision.Connecting the Wires
Begin by examining the current wiring setup of your doorbell. Carefully follow these steps:- Identify the Wires: Look for the existing doorbell wires protruding from the wall. Typically, you'll encounter two main wires: one from the transformer and the other from the chime.
- Prepare the Wires: Strip about half an inch of insulation from each wire, ensuring a clean connection.
- Connecting to the Transformer: Attach one wire to the terminal marked "transformer" on your new doorbell unit. This wire is responsible for providing power to your doorbell.
- Connecting to the Chime: The second wire should go to the "chime" terminal, ensuring the chime works correctly when the bell is pressed.
Necessary Adjustments
If you're updating from a frequency-based system to a Ring doorbell, or perhaps a Google Nest, observe their specific wiring instructions closely. Additionally, verify if your current transformer can handle new voltage requirements by consulting a professional if necessary. If an upgrade transformer is needed, replace it following its safety guidelines.Mounting the Doorbell Unit
Utilize your preparation from earlier steps when it comes to the doorbell mounting:- Position the Mounting Bracket: Attach the mounting bracket to the wall where your doorbell will reside. You may need to drill pilot holes if required.
- Attach the Doorbell Unit: Once the bracket is secure, align your doorbell against it, ensuring the wires remain connected. Fasten screws tightly to lock in place.
Testing Your Setup
After wiring and mounting your doorbell, restore the power supply to test functionality:- Verify Voltage Levels: Ensure the voltage is within the recommended range. This can be done using a multimeter.
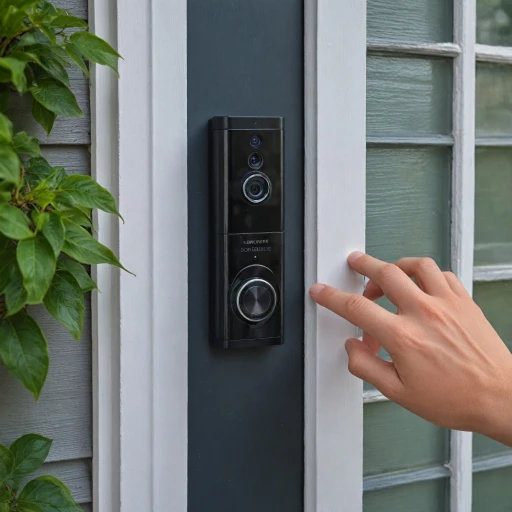
- Ring Test: Test by pressing the doorbell to see if the chime works and that the video feature on devices is operational, if applicable.
Troubleshooting Common Issues
Addressing Wiring Challenges and Solutions
Once you’ve laid the groundwork, wiring your doorbell can be straightforward, but sometimes, unexpected issues may arise. Here are some common problems and their solutions to keep your installation on track.- No Power to the Doorbell: Ensure that the wires are firmly connected to both the doorbell and the chime. Also, check the power outlet and make sure the transformer is providing the correct voltage. If you’re using a ring doorbell or a nest doorbell, verify that the voltage settings meet the device's requirements.
- Chime Not Functioning: Confirm that your chime works properly with a digital chime module if you’re using a modern video doorbell. Sometimes, wired doorbells paired with older chimes require an adapter to function correctly.
- Wrong Wiring Setup: Review your existing doorbell wiring and ensure the proper alignment of the wire. Mistakes here can mean the difference between a working bell and a critical error. Use a wiring diagram as a reference to double-check your work.
- Incomplete or Inconsistent Video Feed: A weak or inconsistent video feed may indicate inadequate power or a faulty connection. Check the mounting and wiring of your video doorbell to ensure it’s receiving enough power from the transformer.
- Transformer Issues: If your system isn’t functioning despite correct wiring, you may need to upgrade the transformer to match the new doorbell's power requirements.
Enhancing Your Doorbell with Smart Features
Upgrade Your Doorbell with Smart Features
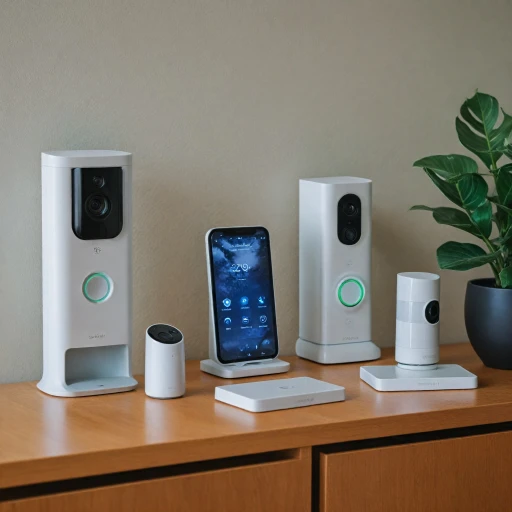
Smart doorbells have revolutionized the way we enhance home security systems. If you are looking to add advanced features to your existing doorbell setup, integrating a video doorbell, such as a Ring Doorbell or Google Nest, can be a game changer. Here’s how you can enhance your doorbell with smart technology.- Power Supply Considerations:
- Connecting and Installing:
- Video and Audio Enhancements:
- Privacy and Security Measures:
