Understanding Your Ring Doorbell Model
Identifying the Right Model
Before attempting to remove your Ring doorbell, it’s crucial to identify the specific model you're dealing with. Ring has several video doorbell models, such as the Doorbell 3, Doorbell 4, and the Ring Pro, each having distinct features.
Understanding the differences between these models will simplify the removal process. For instance, some models possess a removable bottom faceplate that conceals the battery, while others might utilize a direct power connection, thereby requiring alternate removal methods. Refer to this comprehensive guide for more in-depth details about your specific Ring doorbell model.
Examining Model Characteristics
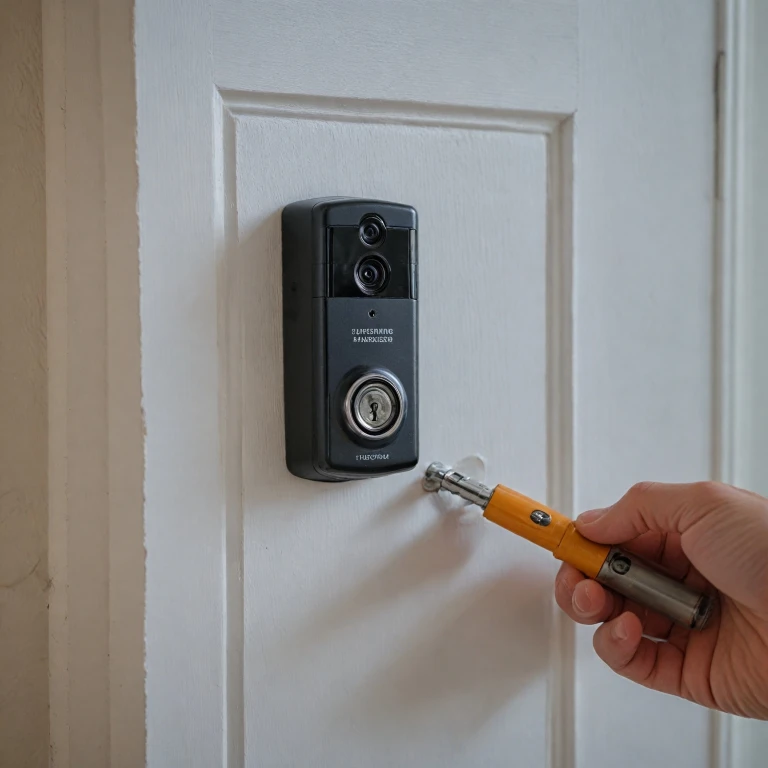
Commonly, model identification can often be confirmed by examining either the packaging of your device or by inspecting the device itself for any model identifiers or serial numbers. Don’t forget to check the screw bottom of your doorbell, as some models are equipped with a security screw. Utilizing the provided screwdriver can assist in accessing the internal components.
Moreover, before starting the removal process, accessing the Ring app, logging into your account, and navigating the device settings can offer additional insights and guidelines tailored to your device’s model and specifications.
Preparing for a Seamless Removal Experience
Remember, accurate identification of your Ring doorbell model not only ensures smooth removal but also prepares you to handle the device correctly, avoiding damage and unwarranted repairs. As you proceed with the removal, other steps such as gathering tools and ensuring safety will be much more manageable.
Gathering the Necessary Tools
Getting Ready with the Right Supplies
Before you start the process of removing your Ring doorbell, it’s crucial to gather the necessary tools. This helps in avoiding any damage to the device or its components during the removal process.
- Provided Screwdriver: Most Ring doorbells come with a star-shaped screwdriver specifically designed to handle the security screws located at the bottom. Ensure you have this tool handy, or a compatible one if it’s misplaced.
- General Screwdriver: Keep a flat-head or Phillips screwdriver with you. These might be needed depending on the model of your doorbell, as older versions might have different screws.
- Small Container: To store screws and small parts safely, consider using a small container. This will prevent them from being misplaced during the removal process.
With these tools ready, you're set to safely remove the device. The steps ahead require careful attentiveness to detail, especially when handling the faceplate and other sensitive components of the video doorbell system.
To understand each doorbell model better, including any unique requirements during removal, consider reviewing a comprehensive guide on understanding the Ring Video Doorbell. This can help ensure you're thoroughly prepared before starting the actual removal process.
Safety Precautions Before Removal
Preparing for the Safe Removal of Your Doorbell
Before you proceed with the removal of your Ring doorbell, safety is paramount. This ensures that both you and your device remain unharmed during the process. Here are crucial precautions to consider:- Turn Off the Power: Ensure the power to your doorbell is switched off to avoid any electrical hazards. This is especially important for hardwired units like the ring pro. Locate your circuit breaker and turn off the power supply.
- Inform Others: If you are in a shared living space, inform household members about the upcoming work to prevent accidental power restorations or mishaps.
- Gather Protective Gear: Wearing gloves and safety goggles can protect you from potential injury when handling the device or tools, such as a screwdriver.
- Secure the Area: Make sure the area around the doorbell is clear of obstacles, and keep a stable step ladder on hand if necessary, to provide a secure footing at your working height.
- Consult the User Manual or Contact Support: If you're uncertain about any step, refer to the device's manual or reach out to the support ring for guidance. It's better to delay than to risk damaging your device or compromising your safety.
Step-by-Step Removal Process
Step-by-Step Instructions to Dismantle Your Ring Doorbell
Removing your Ring doorbell device is a relatively straightforward process. Follow these steps to ensure a seamless removal while avoiding any damage. First, locate the security screw at the bottom of the faceplate of your video doorbell. This screw, often star-shaped, helps secure the faceplate to the device. Using the provided screwdriver, carefully remove the screw. Set it aside in a safe place to avoid losing it. Once the security screw is removed, gently tap or lift the bottom faceplate and slide it upwards. This will expose the internal components of your Ring doorbell, including the battery and other screws attaching the unit to your wall. Be careful during this step to avoid damaging the camera or any other sensitive areas. Next, disconnect the battery power if applicable in your model. This is a crucial safety precaution to avoid electrical shock or short circuits. For models with a battery, press the release button to detach the battery pack. Now, with all the internal components visible, locate the screws securing the doorbell unit to the wall. Using a consistent, gentle force, remove each screw with the appropriate screwdriver, taking care not to strip the threads. With all the screws removed, your Ring device should now be free from the wall. Gently pull it away, ensuring no wires are tugged or damaged in the process. For wired models, carefully disconnect any wiring attached to the device, documenting their original positions for ease of reinstallation. Your video doorbell is now fully removed, ready for repair, replacement, or relocation as needed. Store the screws and tools together to simplify the reassembly or installation of a new device when you’re ready.Handling and Storing the Device
Care and Storage of Your Ring Device
After successfully removing your Ring doorbell, you'll want to ensure it remains in good condition for future use. Here’s how you can handle and store the device properly:- Clean the Device: Before storing your doorbell, gently wipe it with a soft, dry cloth to remove any dust or residue.
- Secure the Battery: If your Ring video doorbell model includes a removable battery, ensure it's taken out and stored separately. This prevents any potential damage from battery leakage or corrosion.
- Keep Screws and Faceplate Together: Place any screws, including the security screw, and the bottom faceplate in a small, labeled container or bag. This keeps everything organized for when you decide to reinstall the doorbell.
- Store in a Safe Location: Choose a cool, dry place to store the doorbell, battery, and screws. Avoid exposure to dampness or extreme temperatures, which might affect the device's components.
- Documentation and Labels: Consider labeling the stored items with their associated tools or keeping the provided screwdriver with the device. Additionally, if you foresee having challenges, making a quick note or video about the removal process might assist in future installations.
Troubleshooting Common Issues
Addressing Common Hiccups with Your Ring Doorbell
After you remove your Ring doorbell, you might encounter some common issues. Here's a quick guide to help you troubleshoot effectively:- Remaining Security Screws Stuck: If the security screws on the bottom faceplate are not budging, ensure you're using the provided screwdriver designed for the star-shaped security screws. Apply firm, but steady pressure when turning.
- Difficulty Reconnecting: If the device fails to reconnect to the Ring app after reinstallation, check your Wi-Fi settings and ensure they're correctly entered into the device settings. Sometimes, a simple network reset or a reboot of the router might do the trick.
- Video Doorbell Not Charging: In cases where the battery isn't holding charge post-removal, check the contact points between the doorbell and its backplate for debris or damage. Clean gently and ensure the doorbell ring snaps correctly into place.
- Device Not Detected: Should your Ring device not be appearing in the app, verify that you're logged into the correct Ring account. Navigate to the general settings and ensure the device hasn’t been accidentally removed from your account.
- Faceplate Won't Secure: If the faceplate seems loose after reinstalling, double-check that all screws, including the screw at the very bottom, are properly tightened.